Monday, November 11, 2013

Jalie Sports Bra


You know it's winter when you need extra blankets to keep you warm. The hardest thing about winter, for me, has always been to get to the gym. It is just so tempting to skip working out to lounge around the house. To help me stay on track, I wanted to make some new sports bras. I had been eyeing the Jalie 2563 for a long time and finally decided to invest on this pattern.
I finished view A using donated African print swimwear fabric. Here's a look:
Front View

 
Back View

The pattern was easy to trace, cut, and sew. This was my wearable muslin, so I will be adding full lining to both front and back pieces. I think adding full lining will polish up the inside of the bra. Also, I will be lowering the neckline to fit tank tops. I have an idea to make my sports bra give the illusion that I have bigger ta-tas through strategic color blocking and cutting. More on that later...
I will let you know how this sports bra holds up when I'm running on the treadmill, doing zumba, or practicing yoga. 

Laters.


Saturday, October 5, 2013

Chilling in the city of Orange

1381029912306.jpg

It's been a long time since I have posted anything, but in a nutshell: I had a super busy summer with two online classes, working summer school that led me to NYC (pictures to come later) as my reward and started the new school year. Needless to say, I had no time for sewing.

Here we are enjoying our time together.

Tuesday, July 2, 2013

A Raceback Swimsuit (In Progress)

It has been so HOT in CALi...Omygosh! I have been working on this one piece racerback swimsuit using Jalie 3134. Here's a glimpse:

All I need is a bathing suit that is curve- friendly. That's it! But finding a racerback suitable for voluptuous-ness below the waist is super impossible. Thus, I dropped the leg opening down a bit on both  front and back. Here's the back view:

So far, I have been impressed with the spot on preciseness in fitting. I have to admit that getting caught up on fitting adjustments is probably my downfall. I am getting better at adjusting the fit for my curves, but it is a breath of fresh air when the pattern pieces fit like a glove.
The only adjustment that I had to make was with the back band and straps. The black lycra- spandex has way too much stretch that I had to make both of these pattern pieces three sizes smaller. Something I am planning to do to minimize the stretch is to add another layer of the same material on both the straps and back band. I guess it can be considered as lining the back band and straps to keep things simple. Nonetheless, I am very pleased with the fitting.

Happy summer sewing!!


Saturday, May 25, 2013

A Maxi Dress Desire

I need a maxi dress suitable for work with sleeves, so I have been "virtually window shopping". Check these out:
     Naya Maxi Dress 
If you are interested, you can buy it here. An interesting design detail about this dress, it has a side zipper. On to the next:
     
If you are splurging, you can buy it here.

     PRINTED FLUTTER SLEEVE MAXI DRESS 
This one shows too much skin for work, but it's perfect for summer. You can find it here, if you are interested.
  
I have a beige denim cropped jacket, so I could make this maxi dress appropriate for work. If you want to add this to your wardrobe, you can buy it here.

Later, I will go through sewing patterns to replicate a maxi dress.

Adios.


Monday, May 13, 2013

First "Copy Cat" Version of a Sports Bra

I started with a sports bra purchased from a retail store, as seen here:
 
I used some newspaper and a highlighter to trace the outline of sports bra. I folded the center front and center back. Check it out:
 
After I had my pattern pieces, I pinned them on donated swimwear fabric, cut the pieces and basted. I did add another layer of swimwear fabric for lining. And Voila:


I attached the band using a slipstitch, and all I need is to set in the elastic. This is my first "copy cat" project, and it will most likely not be my last one. Nite. Nite.

Saturday, May 4, 2013

B5895

After hours of tracing, fitting, and re-pinning, I can almost see the finish line for B5895. Peep the views:


The fabric is stretch cotton purchased years ago. I really wanted to finish this today since the weather has been getting hotter and I need some capris badly. Once I have the desired fit worked out, I plan on making a couple more. So, my time with this pattern is not over, but it is for now.

Buenas Noches.


Possible Fitting Solution

Currently on my foldable table, lay the pattern pieces for B5895 as seen here. I have made several fitting adjustments to capture the essence of these close fitting capris with a back zipper. First of all, the model must be as tall as a giraffe, because I have had to shorten the pattern pieces by five inches. Ok, well maybe I'm shorter than I thought. Nonetheless, that change got taken care of. Secondly, I lowered the waistline by an inch and a half simply due to personal preference. During the tissue-fitting, I was able to double check the outer side seams. I would like to achieved the same look, so I am pin-fitting with minimal ease. Thirdly, I had to redraw the "U" shape on the front and back pieces because the lines were sitting too low compared to my curves. This was my first attempt at ever changing the crotch curve. Hopefully, it all works out.

B5895 


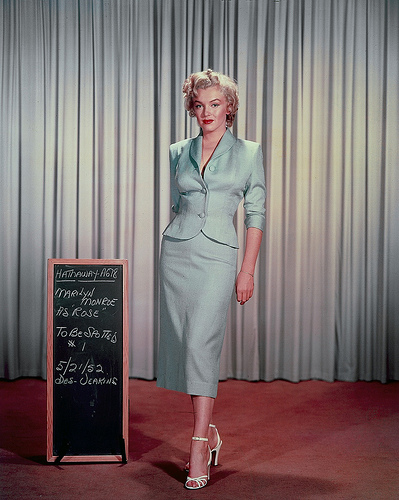
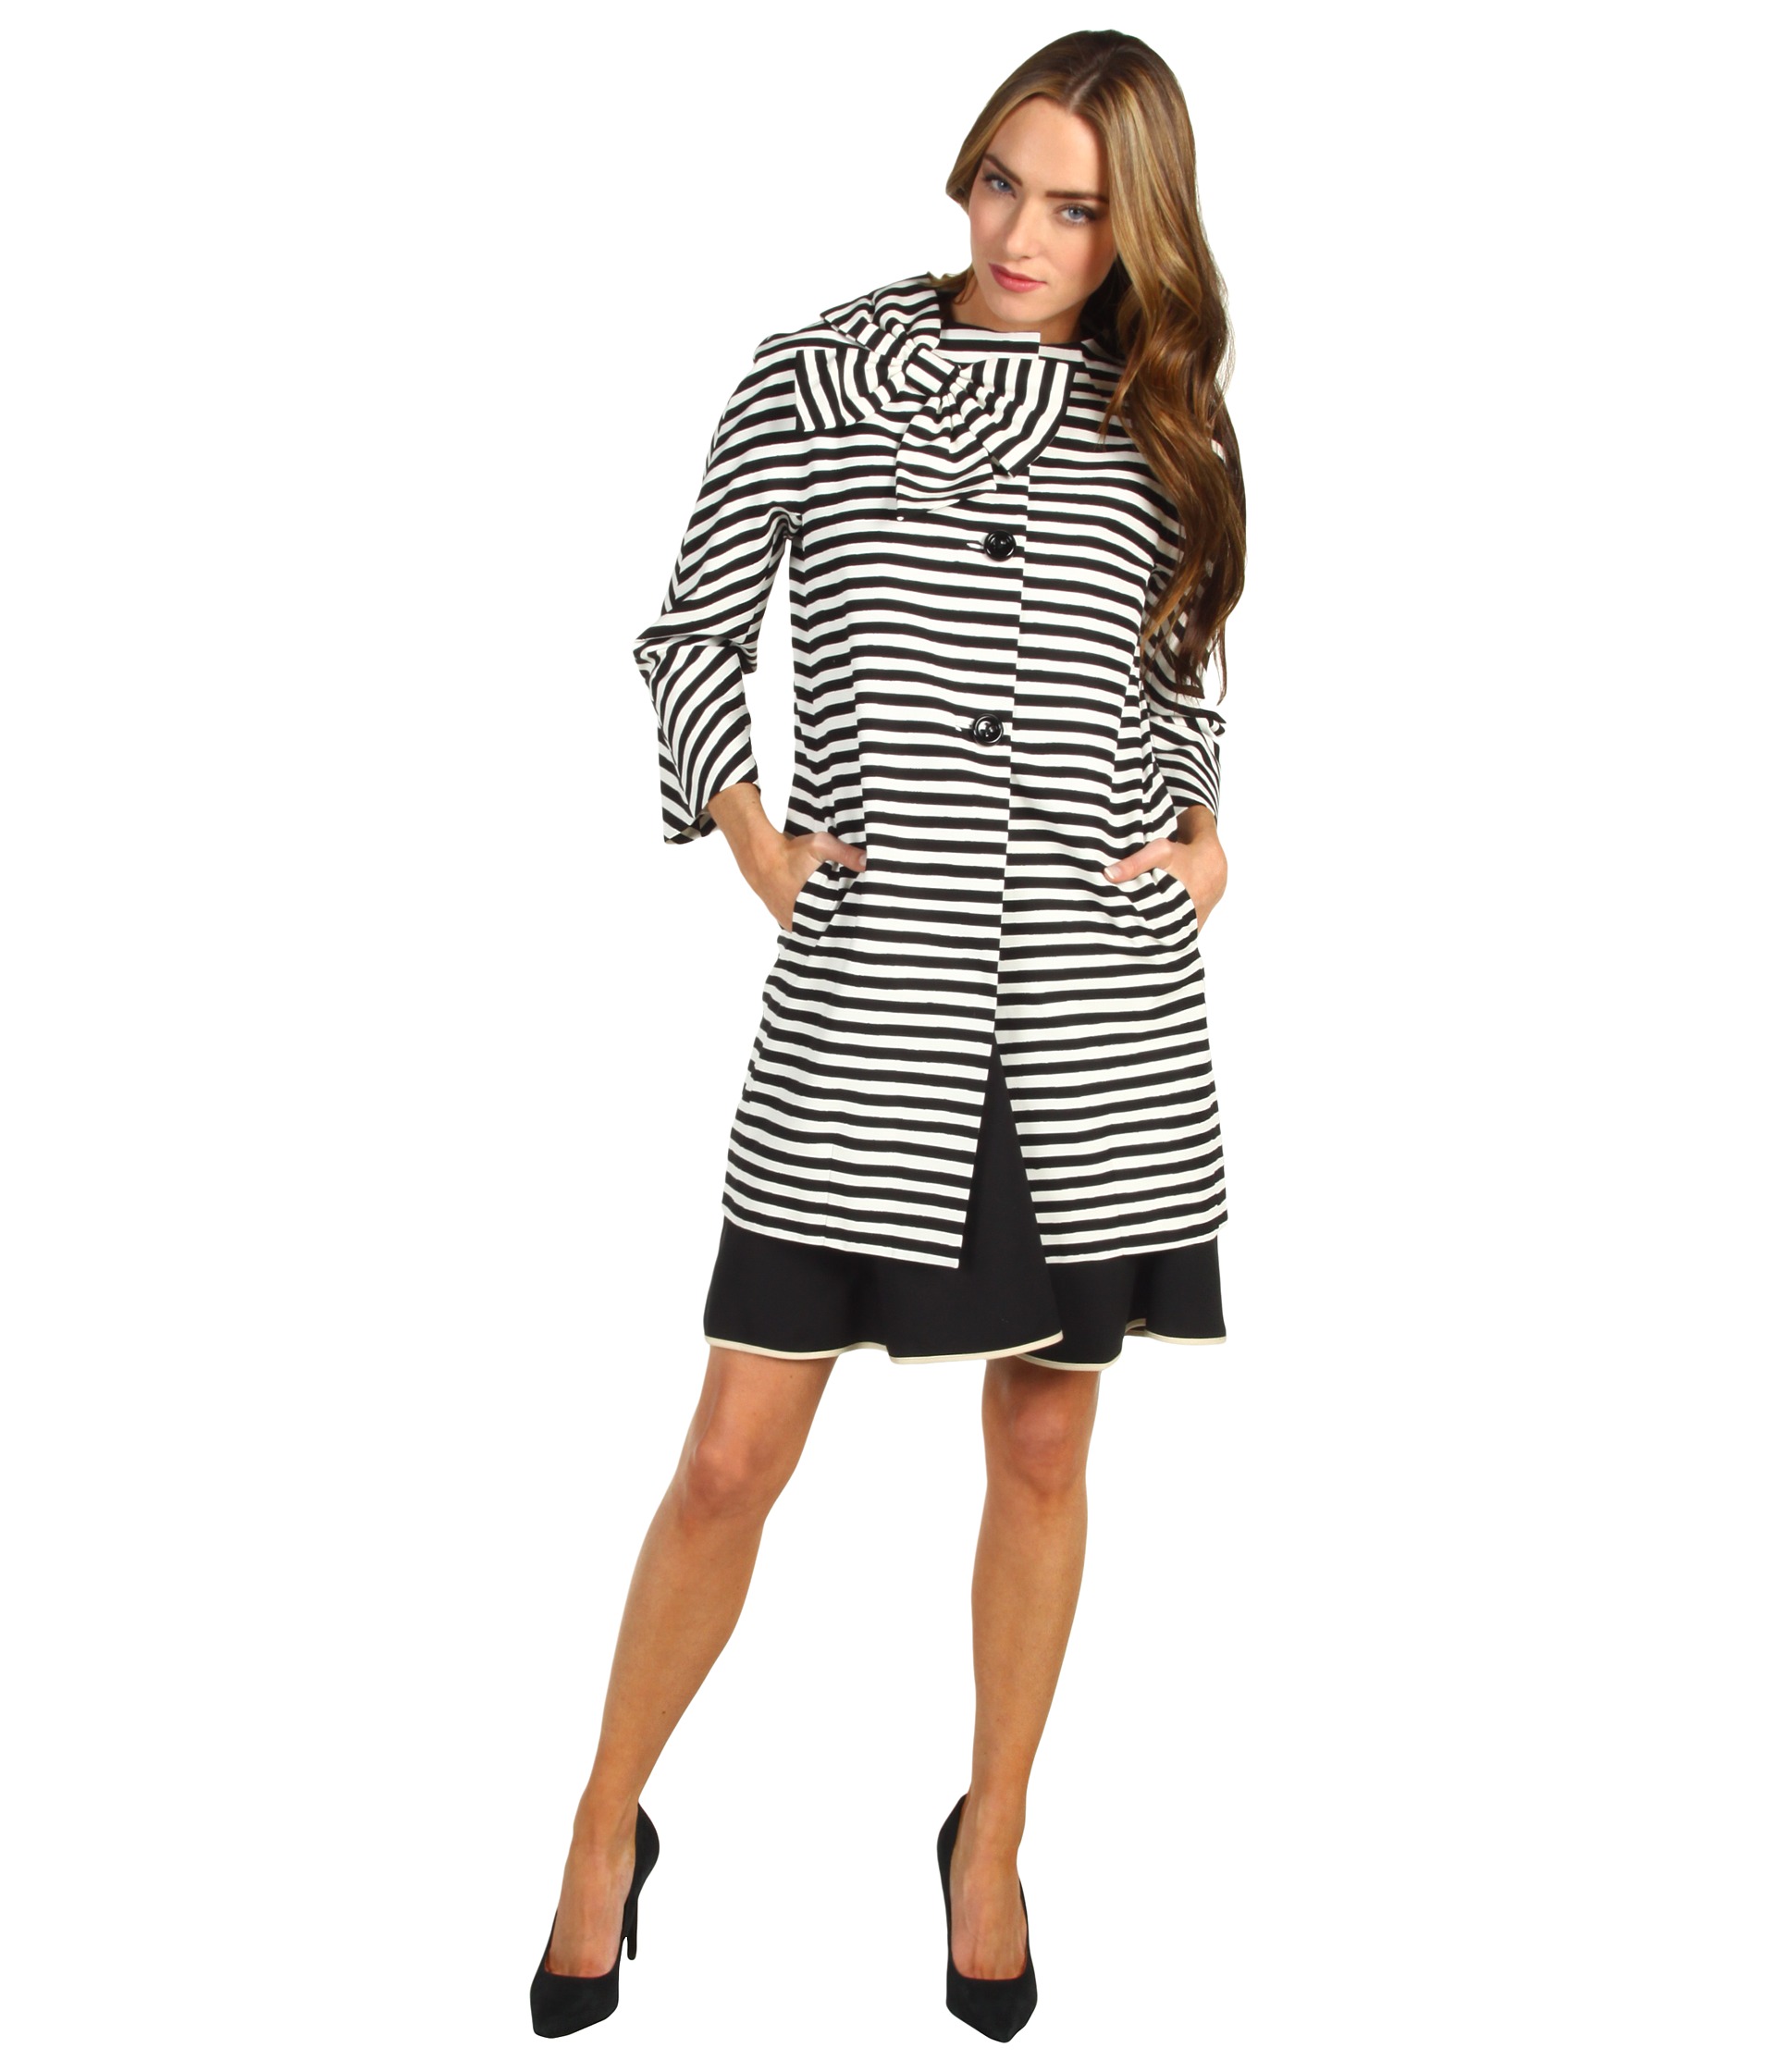
Now, for the problem at hand. I would like to get rid of the extra fabric creating ripples under the model's toosh.   During my tissue-fitting, I noticed the same thing. So, I did and image check on Bing to see pictures of other capris with a back zipper. I found this one:


Do you see what I see? These capris have princess seams that would probably be unnoticed on darker fabric. Would this be the solution to get rid of the extra fabric hanging under the pompis [another Spanish word for butt]???

To Be Continued...


Tuesday, April 23, 2013

I'm Gonna Mention my Unmentionables!

I am doing the happy dance because I just made some panties using lace. O-yeah, uh-huh!! I used McCall's 5651 version D with donated swimwear fabric and lace from my sewing class. Once again, I traced the pattern pieces onto tracing paper to preserve the original pattern pieces. I used a ballpoint needle, zig-zag stitch width 3 and length 4 for the braided elastic, and the lightning bolt stitch for lace.
This was my first time working with lace, so I turned to one of my sewing books for some helpful hints. The Complete Photo Guide to Sewing suggested to use a small zig-zag stitch. What a breeze. So here it is:

  
                               [Front]

 
                   [Back]
The pattern suggest to place elastic on the waist but I like how it looks without it. The area where the elastic meets the lace had to be modified. I folded the elastic side by side and used the lightning bolt stitch to make that part thinner. Come to think about it, I should make that alteration on the pattern piece. Ok, well these chonis were super comfortable and my hubby liked them. Shhh! Don't mention it.

Laters.


Saturday, April 13, 2013

My FIRST Sports Bra

I am so excited about sewing up my first sports bra!! I used McCall's 4261 as seen here in Version C using swimwear 4-way stretch fabric. Peep this:
 
The pattern to make this simple sports bra has only three pattern pieces. Yay-yeah! To preserve my original pattern pieces, I traced the size I needed. I used self-fabric as lining instead of what the pattern recommends- tricot. Currently, I'm taking a swimwear sewing class, and using the self fabric gives you more support and coverage. 
 
Ta-ta-tum...the big-o-gap popped up only on side. This has to do with the distribution of the braided elastic. I will ask my sewing teacher for her recommendations. She had us do a math calculation for elastic distribution on the triangle bra, so I'm hoping she can shed some light on this sports bra. I will keep you updated.  
 
This is how it looks on the left side- elastic firmly laying flat.
 
This is the back view of my sports bra. I am blown away by how comfortable this feels on me. I will be testing the support either by running or doing zumba. If this sports bra gives me the right support, I'm definitely going to be making more.

Bu-bye.

Sunday, April 7, 2013

Hollywood Inspired Sewing Challenge

In my quest to find the Butterick Patterns 5880 as seen here and 5895 as seen here, I stumbled upon a sewing challenge they are having to celebrate 150th years. If you are interested, you can check here to find out more.
I took the time to  view their timeline that showed Butterick patterns "evolving through the decades.." (their words not mine..lol). Then, there it was- a picture of Marilyn Monroe wearing the iconic white halter top dress alongside B 4919 as seen here. I so HEART Marilyn Monroe and will be searching for an inspirational picture to possibly recreate the look. So far, check these 'hot little numbers' out:


Based on these pics, it seems like I have a particular style in mind. I like the figure hugging, slim-fitting dresses with a modest hemline. Now I have to see what sewing patterns can be used to make my desired look. If you have any suggestions on sewing patterns (it doesn't have to be Butterick), just drop a comment.

See ya.

Thursday, April 4, 2013

Retail Motivation on a Budget

I just found this cute sleeveless dress where, if you have the dinero, you can go here to drop a pretty penny. But if you are like the rest of us, trying to live life looking oh, so fabulous, may I suggest pairing it up Simplicity 2209 as seen here.  As for the bow, you can search YOUTUBE for video tutorials on making fabric bows.


RED Valentino

Stretch Poplin Bow Dress

Retail Value $595.00


Alice + Olivia - High Waist Back Zipper Capri  

Alice + Olivia

High Waist Back Zipper Capri

Retail Value $187.00


A few seconds later, I stumbled on these polka dot, back zipper capris. This look is totally do-able for the home seamstress on a tiny budget. You can use Butterick 5895 as seen here. FYI: Joann's is having a 5 for $5 sale on all Butterick sewing patterns from Thurs., April 4 to Sat., April 6th.

There are certain items that I will splurge on, but I often prefer to live within my means. I'm putting these creative suggestions together to use as a future reference for everyone and anyone to undertake.

Adios.


Monday, April 1, 2013

Sew for Victory Entry PICS

Today was the deadline for the the 1940's sew along hosted by Rochelle from Lucky Lucille. Check out her blog here. This was my first time participating in a sew along that was truly at your own pace. I started working on my retro dress from Simplicity, as mentioned here and here, sometime in February. There were many adjustments, bloopers, mishaps, and fitting issues that I had to plow through in order to finish in time. So here are the pictures that my hubby took:


Overall, the dress looks fabulous to the untrained eye, but it does have unfinished hems at the bottom and sleeves. I had to do so many alterations because in the middle of this sew along, I made a lifestyle change. I decided to give up Fast Food for Lent, meaning I would be cooking my own meals at home. Well, I started loosing inches from bust, waist, and hip area gradually. Therefore, I kept having to fix the side seams because I wanted the dress to compliment my curves. It was a lot of hard work and feel super excited about these pics.

Laters.


Sunday, March 24, 2013

Striped with Couture

 
Just thought I'd share this Kate Spade Striped Coat with the cutest bow on the side. I believe the retail price is $628 here. I needed to grab this image to remember how simple this coat looks and to guide my inspiration for later projects.

Product Image

See you.


Fear NOT Sleeve Adjustments

I have been working steadily on my 1940's retro dress from Simplicity 1777 to meet the deadline for my first sewing challenge as previously posted here. I love the pattern, but I have to admit, the pattern required a couple of major alterations around the waistline area, sleeves, and neckline. Since I used matte jersey fabric (stretchy), these changes have been easier to make.    


This is a picture of the sleeve with alterations- added 3 inches at the underarm area, added 2 inches to the sleeve cap, and pin-fitted the sleeve for a better fit. I am so excited about this dress because I absolutely love the pink/orange floral fabric. I already have the shoes! Take a peek:


It's all coming together slowly.

Nitey-nite.


Sunday, March 17, 2013

A Pattern From My Stash

I have signed up for the Pattern Stash Contest over at pattern review. Check out the button:

Pattern Stash Contest  200px 

I like the idea of looking through my stash and dedicating time to a pattern that I have purchased in the past. So, I did choose a pattern. Here you go:
M6279
I will do version B. I have been a busy bee this weekend. Here are some pictures of my pin fitting:


In a nutshell, these are the changes I have made so far to get the desired fit: (1) added 1.75 inches to the side seams, (2) pinned the princess seams at 0.5 inches and (3) dropped the neckline 0.5 inches. Those changes helped get the fit right for my curves.

Toddles.